

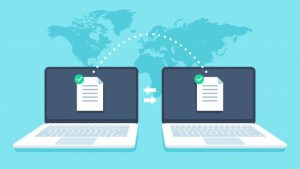
Migrating your volumes can be stressful, complex, and expensive. To help you with your data migration projects, StoneFly has released StoneFly Migrate for free. In this blog post, we’ll share how you can download, install, and use the free data migration software.
StoneFly Migrate is a powerful vendor-agnostic data migration SaaS. It is a versatile, fast and reliable web-based software with advanced file transfer features and services.
The benefits of using StoneFly migration software are:
Here’s a step-by-step guide for the installation and setup:
Step 1
Go to the StoneFly Migrate webpage, click the free download button, click add to cart, fill out the form, and click send. Your information will be sent to the StoneFly team, and you’ll receive an email with the software license key.
Once you successfully submit the form, you will be redirected to a page with links to a brief setup guide and the OVA file you’ll need to install the Virtual Machine (VM).
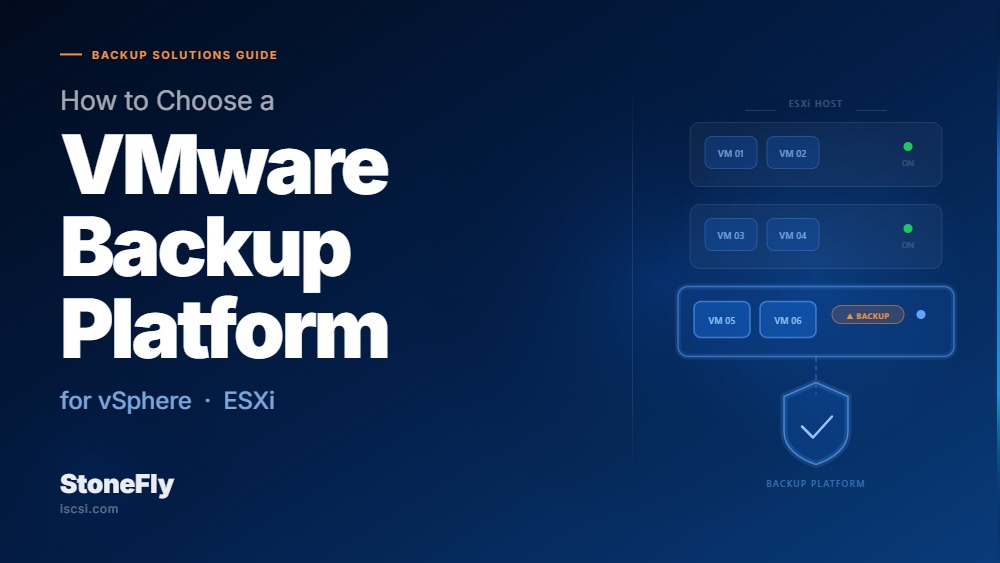
Note: The data migration software is compatible with VMware.
Step 2
Once the license key and OVA file are received, proceed to load the OVA file in your VMware console. Type in the name for the VM, select the location, and click Import.
The import may take a few minutes.
Step 5
Once the import is complete, start the VM.
The VM is configured to get the DHCP IP by default. However, it can be configured manually if necessary.
Type in the following credentials to login:
Username: databloc
Password: databloc
Note: If you need to configure the IP, you can do so by via ifconfig
Step 5a (Optional)
It’s also recommended to do a ping test to confirm internet access. To do so, type ping 8.8.8.8 and press enter.
Note: Internet access is needed initially for software license authentication.
Step 6
After starting the VM, open a browser and type in the IP address configured during VM startup.
Copy-paste the license key into the Authorization text field, and click ‘authorize’.
Then, log in using the following credentials:
Username: stonefly
Password: stonefly
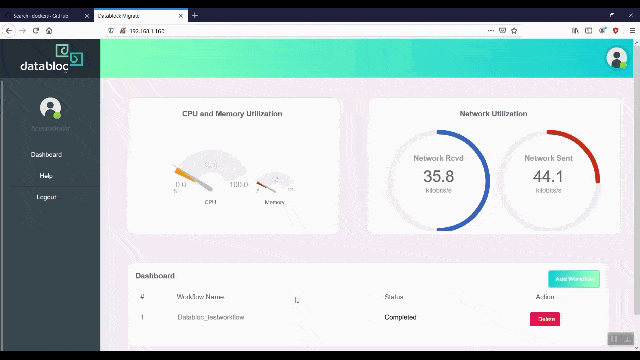
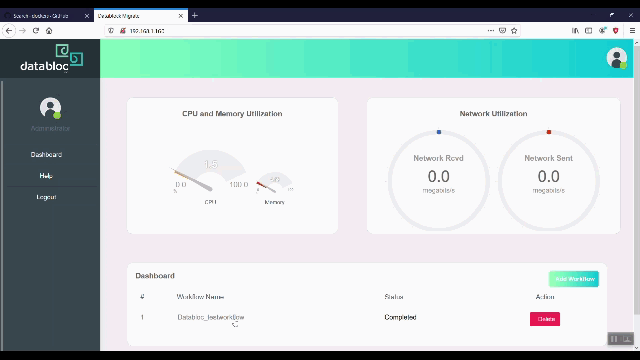
After the successful login, you will be redirected to the dashboard with a graphical display of CPU, Memory, and Network Utilization levels.
Now that you know how to install and setup the software, let’s go over the usage of the software including data migration, real-time replication (or syncing), and scheduled jobs.
Step 1

At the dashboard, click on Add Workflow and enter the details required such as naming the workflow, source and destination username, password, and IP address. Be sure to click validate to confirm the connection to the source and destination.
Note: CIFS protocol is selected by default. You can also choose NFS protocol by left clicking the corresponding button. Please note, the protocols for source and destination have to be the same.
Once the source and destination are validated, click Submit to create the workflow.
Step 2
Click on the migration workflow to open the details and left click the Start button to the right of On Demand Migration to start the migration job.
If you need to enable setup real-time replication/mirroring/syncing between the source and destination, then do the following:
Click on the corresponding workflow and left click the Enable button to the right of Realtime Migration.
Once active, the workflow will automatically check for any changes in the source and automatically migrate newly created files to the destination.
Additionally, it will also replicate any changes made to previously migrated files in a way that only the changes are transferred (change-based / delta-based migration) – not the complete file.
Note: To enable real-time replication, you need to configure migration workflows first. For reference, scroll up to “Create & Orchestrate Data Migration Workflows”

You can also schedule regular migration jobs on specific hours of the day, and days of the week. To schedule replication jobs, do the following:
Click on the corresponding workflow and left click Scheduler.
By default, the Enabled checkbox at the top is unchecked. Highlight the hours and days of the week suitable for your migration needs, check the Enabled box and then click Submit.
The scheduler will automatically trigger migration workflows during the specified hours and days, as long as the VM is turned on.
Migrating your unstructured volumes can be a tough and expensive ordeal – but it doesn’t have to be. The StoneFly data migration software is a free tool built to migrate enterprise workloads and setup real-time replication or scheduled replication jobs to ensure redundancy and availability.
If you’re experiencing challenges with your migration projects, you can purchase technical support or additional professional services.
To do so, contact us by sending an email to [email protected] or you can call us at +1 510 265-1616.
Note: The data migration software is free and does not include any technical support or professional services. They have to be purchased separately.


Join our mailing list to receive the latest news, updates, and promotions from StoneFly.