Select Page

How to add disk drives & scale out NAS storage in Microsoft azure VM?

This article is the second of two articles meant to lead you through the process of setting up your scale out NAS storage in the Azure portal. If you wish to learn about the creation, configuration and purchase of a VM in the Azure portal, we recommend you to read the first article in the series

This article will explain how you can customize the DNS name label of your VM. After that you will learn how to add disk drives to your VM and how to scale them. You will learn how you can use your customized DNS name label to access and manage your storage via a web browser.

StoneFly NAS VM in Azure: Adding disk drives and scaling out storage

With the completion of the purchase process, the portal will begin creating your scalable NAS storage.

While the process of creation is in progress, you can make more machines as per your desire and requirement. To do so, follow the same process as described in “How to setup StoneFly Scale out NAS VMs in Microsoft Azure portal” article.

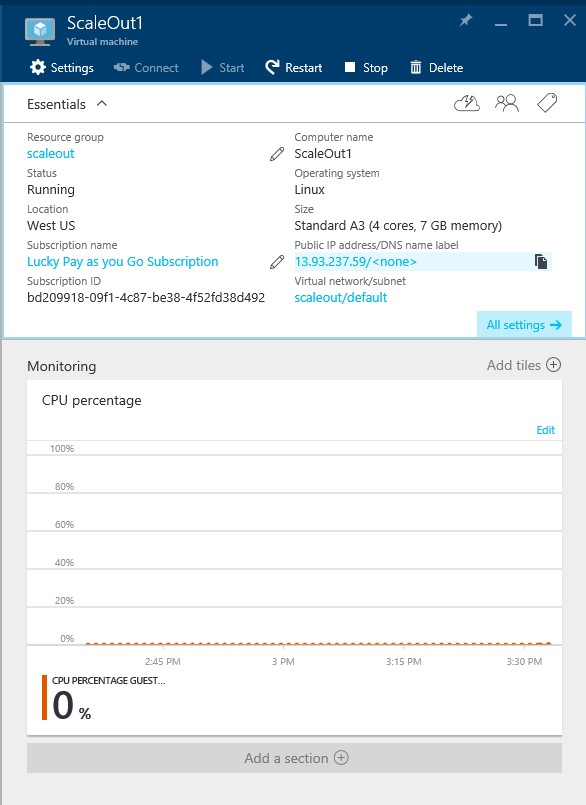
Once the creation process is completed, it will change from “Creating” to “Running”.

Customize VM IP address/DNS Name Label

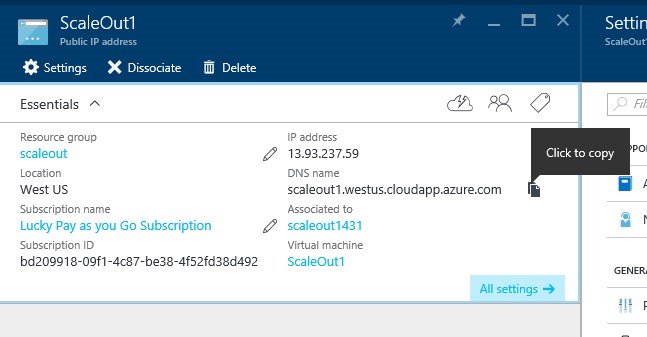
Click on the VM to open its settings page. In the settings page, click on the “Public IP address/ DNS name label” field.

How to add disk drives & scale out NAS storage in Microsoft azure VM?
A settings pane will open up. Click on the “Configuration” tab.
How to add disk drives & scale out NAS storage in Microsoft azure VM?
Clicking the configuration tab will open up a window where you can type in the customized DNS name label of your VM. For simplicity and convenience, we recommend using the same VM name.
How to add disk drives & scale out NAS storage in Microsoft azure VM?

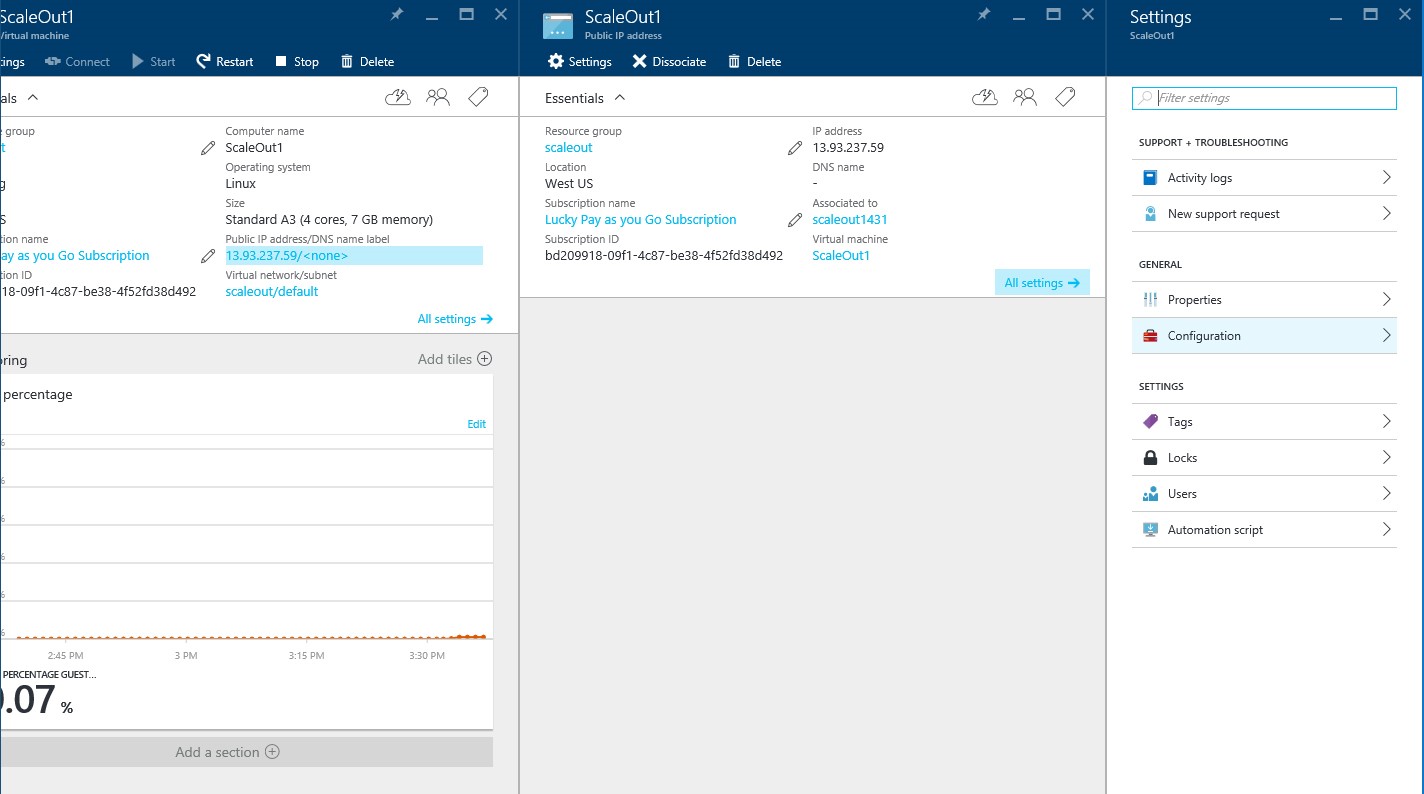
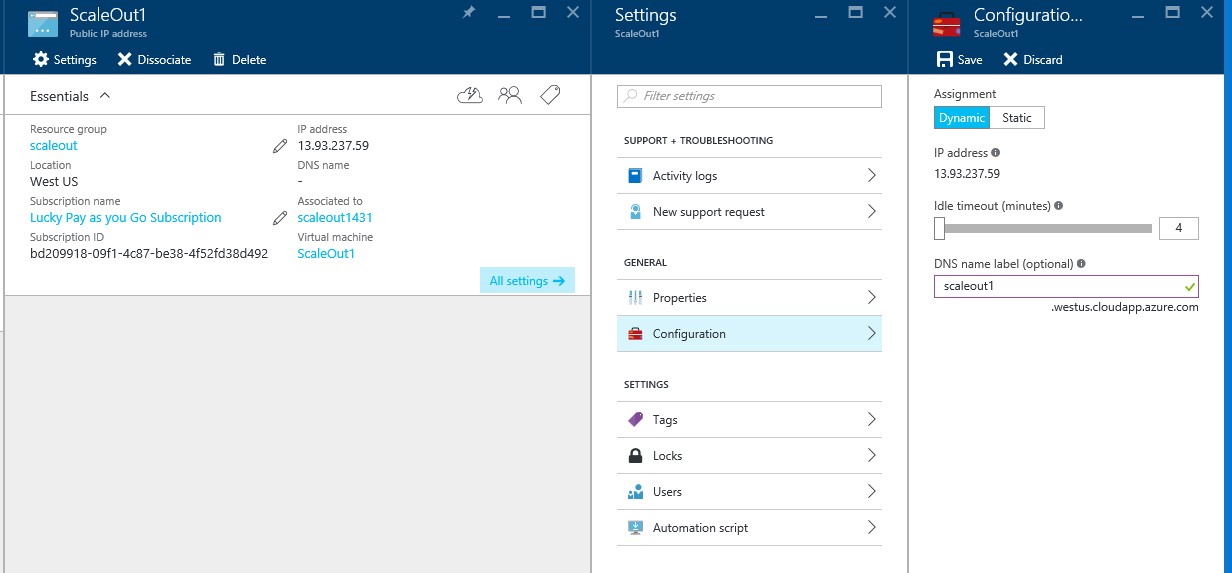
You can change the DNS name label, using the dialog box at the bottom right corner.

Attach Disk Drives to your VM

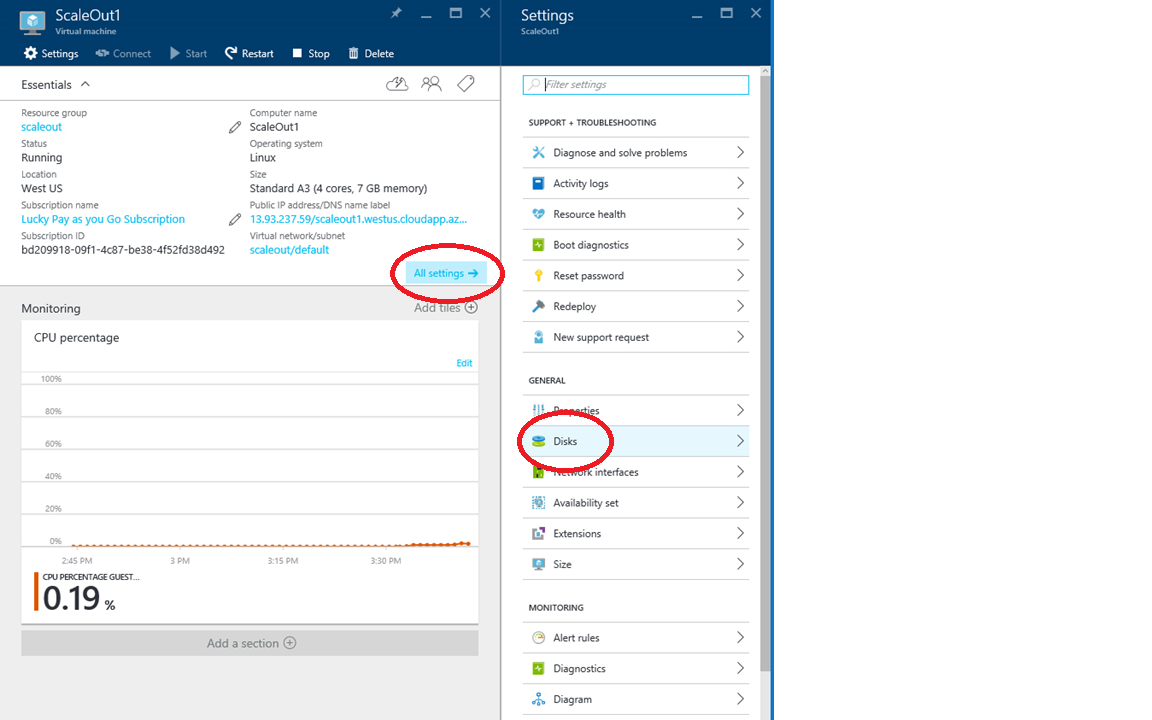
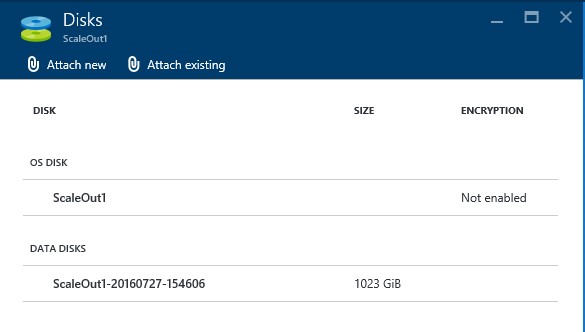
After assigning the DNS name label, you can now attach the data disks to your scale out NAS. To do so, move back to the left hand pane and click on “All Settings”.

How to add disk drives & scale out NAS storage in Microsoft azure VM?
Settings window will pop up and you’ll find the “Disks” tab under the General heading, as depicted in the above image. Click on “Disks” and you’ll be lead to the following window:
How to add disk drives & scale out NAS storage in Microsoft azure VM?
Click on the “Attach New” button under the Disks page in the right hand pane. You can attach the data disks used for storage.
How to add disk drives & scale out NAS storage in Microsoft azure VM?
Here, you can change other information to your liking.

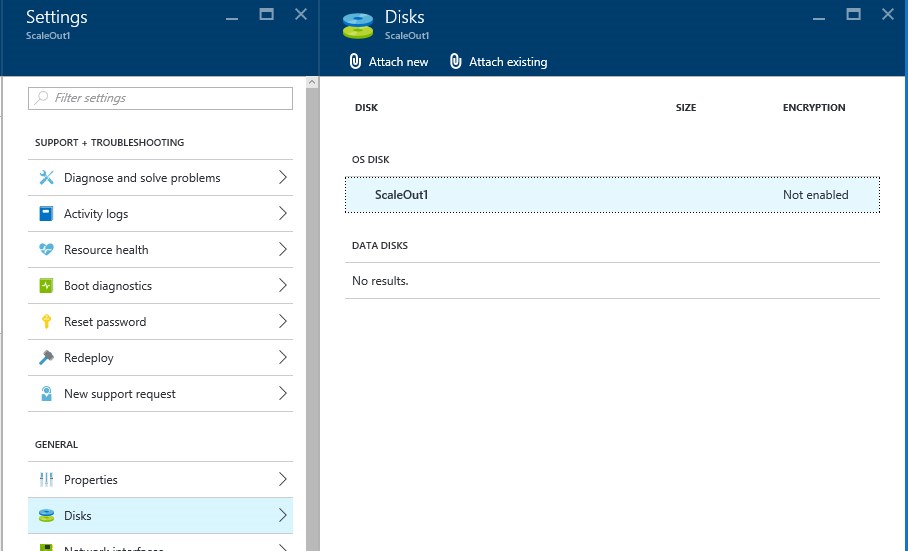
Remember to choose Read/Write for Host Caching. After you’re done with the changes, click on “OK”.

And that’s it, the portal will process it and you’ll have your disk attached.

How to add disk drives & scale out NAS storage in Microsoft azure VM?
Before attempting to add another disk, make sure that the previous disk has been successfully attached. Attach one disk at a time, after confirming the success of the previous disk attachment. By repeating this process, you can add as many disks as your scale-out NAS supports. The number of disks per storage is defined by the chosen storage, as mentioned earlier. In case of A3, that would be a total of 8 disks capable of storing 8TB of data.
How to add disk drives & scale out NAS storage in Microsoft azure VM?

Scale out your NAS storage

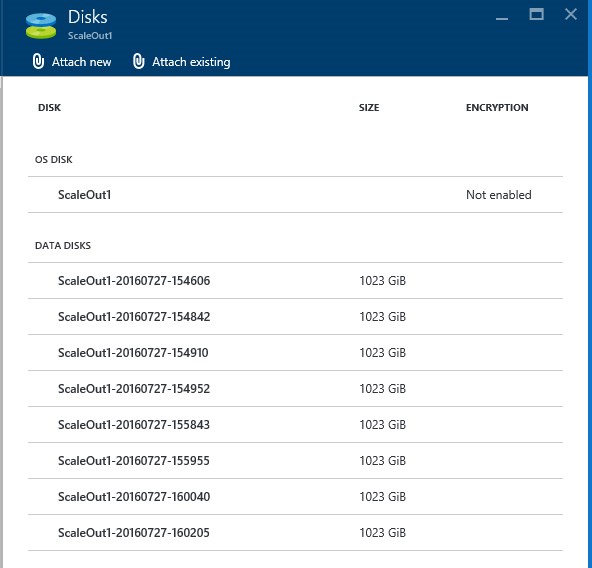
If the NAS data storage is completely filled with the maximum possible disks, that doesn’t mean that your scalability has come to an end. You can choose to scale out the NAS storage, which will enable you to add more disks. In the above example, you can choose to move from A3 to A4. You will be able to have 16 disks instead of 8.

To scale out, go back to the “All settings” button and click on the “Size” tab in the right hand settings menu.

How to add disk drives & scale out NAS storage in Microsoft azure VM?
Choose the NAS storage you wish to move to and click on “Select”. And with that, you will move to the larger VM with more space for disk drives.
How to add disk drives & scale out NAS storage in Microsoft azure VM?

The entire process can be done for the other attached storages, as soon as their status changes from “Creating” to “Running”.

Using the Customized DNS Name Label

Remember that DNS name label we asked you to configure at the beginning? Well, besides letting you add data disks to your scalable NAS appliance, it also enables you to access your storage using a web browser. What you have to do is click on the storage and find the DNS name. You can use this link in the address bar of a web browser to access your storage device.

How to add disk drives & scale out NAS storage in Microsoft azure VM?
The above image shows where exactly you can find the DNS name. Remember to add http:// for the link to work. Using this link will bring up Stonefly’s cloud storage web based management interface. That lets you manage the storage, the VMs and the associated data disks.

This concludes the guide on how to setup Stonefly’s scalable NAS VMs in Microsoft Azure portal. If you have any queries about Stonefly’s products, services and scalable nas storage appliances, feel free to consult our professionals.

Lynx Ransomware: Attack Vectors, Impact, and Mitigation Strategies

Lynx Ransomware: Attack Vectors, Impact, and Mitigation Strategies

Lynx ransomware is a fast-spreading and highly disruptive malware that encrypts critical business data and demands ransom payments for decryption. It can halt operations, compromise sensitive information, and cause significant financial damage. Recent reports indicate...

8Base Ransomware: Detection, Prevention, and Mitigation

8Base Ransomware: Detection, Prevention, and Mitigation

8Base ransomware is a rapidly growing cyber threat targeting businesses across various sectors. Known for its sophisticated tactics and double extortion model, it encrypts critical data and steals sensitive information, demanding ransom for both. As the risk of 8Base...

Inside Rhysida Ransomware: Infiltration, Impact, and Prevention

Inside Rhysida Ransomware: Infiltration, Impact, and Prevention

Rhysida ransomware is a dangerous cyber threat that has been disrupting organizations since May 2023. Known for its double extortion tactics, Rhysida encrypts files and exfiltrates sensitive data, pressuring victims to pay or face public exposure. It infiltrates...

You May Also Like

Subscribe To Our Newsletter

Join our mailing list to receive the latest news, updates, and promotions from StoneFly.

Please Confirm your subscription from the email