The contents of this article will explain how you can find StoneFly’s scale-out NAS in the Azure portal and how you can create your VM there. Using images you will also see how to select the storage space for your VM and how to configure your VM. Finally, the article will also cover how you can purchase the VM you’ve created and configured.
Microsoft Azure Portal & StoneFly’s VMs
Log into the Microsoft Azure portal, using this link: https://portal.azure.com/. It will look like this:
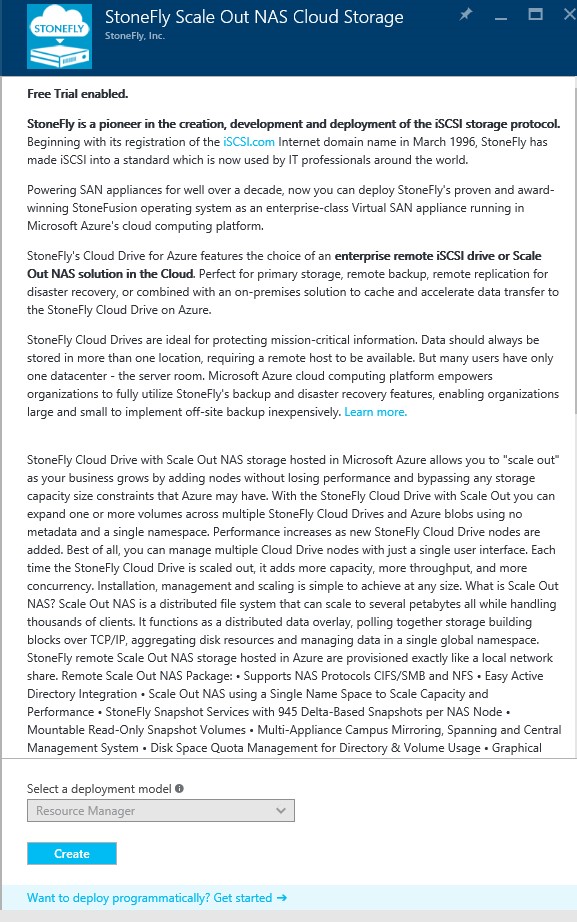
You can read the product description and features available to you. StoneFly’s appliances are utilized all over the globe, by reading this description you can understand why.
Step 1: Create your Virtual Machine (VM)
The creation process isn’t a long process, it is as simple as it can be and as condensed as it can be. It is a 5 step process with the following stages: Basics, Selection of the Virtual Machine (VM) size, Settings of optional features, Summary, and finally the Purchase/Payment. Click on the “Create” button.
A form will appear asking some questions from you.
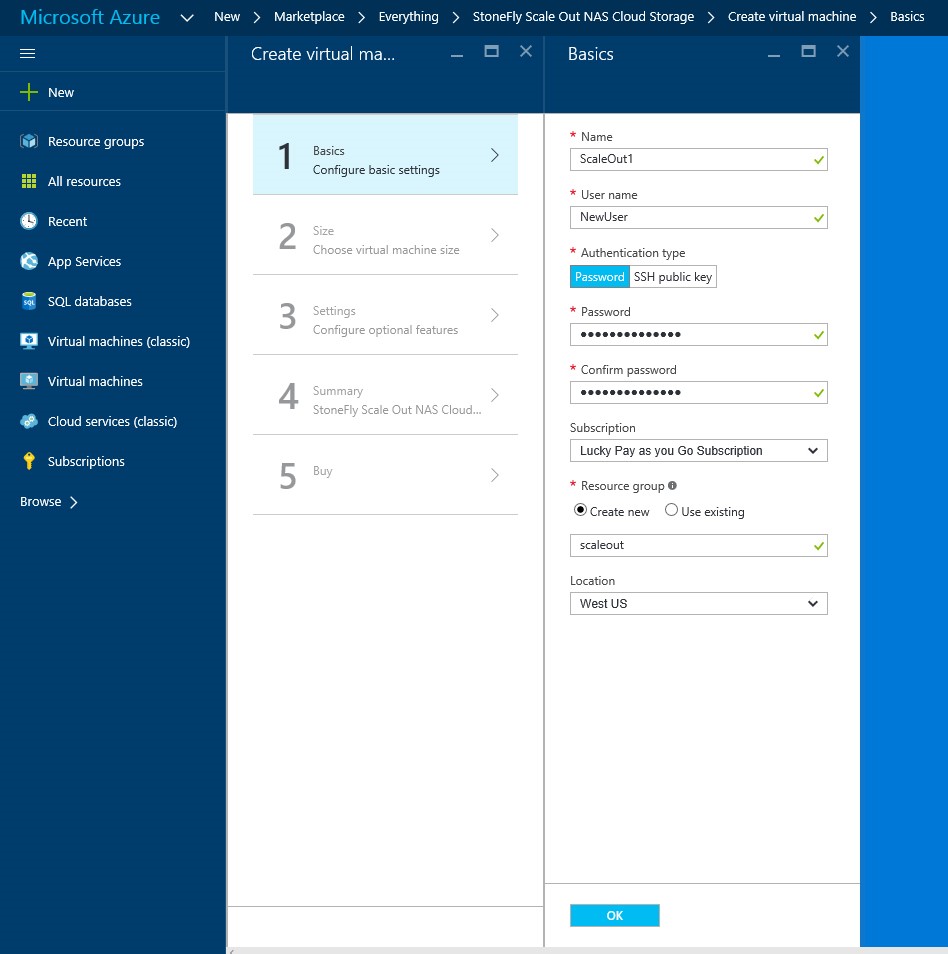
Some restrictions need to be observed when you’re purchasing a node or nodes. The name has to be at least 12 characters long. Another thing that needs to be observed is that each node within the scale out should have the same subscription, resource group and location. Once you’re done with the form and the settings, click “Ok” and you’ll move on.
Step 2: Choose the Storage Size
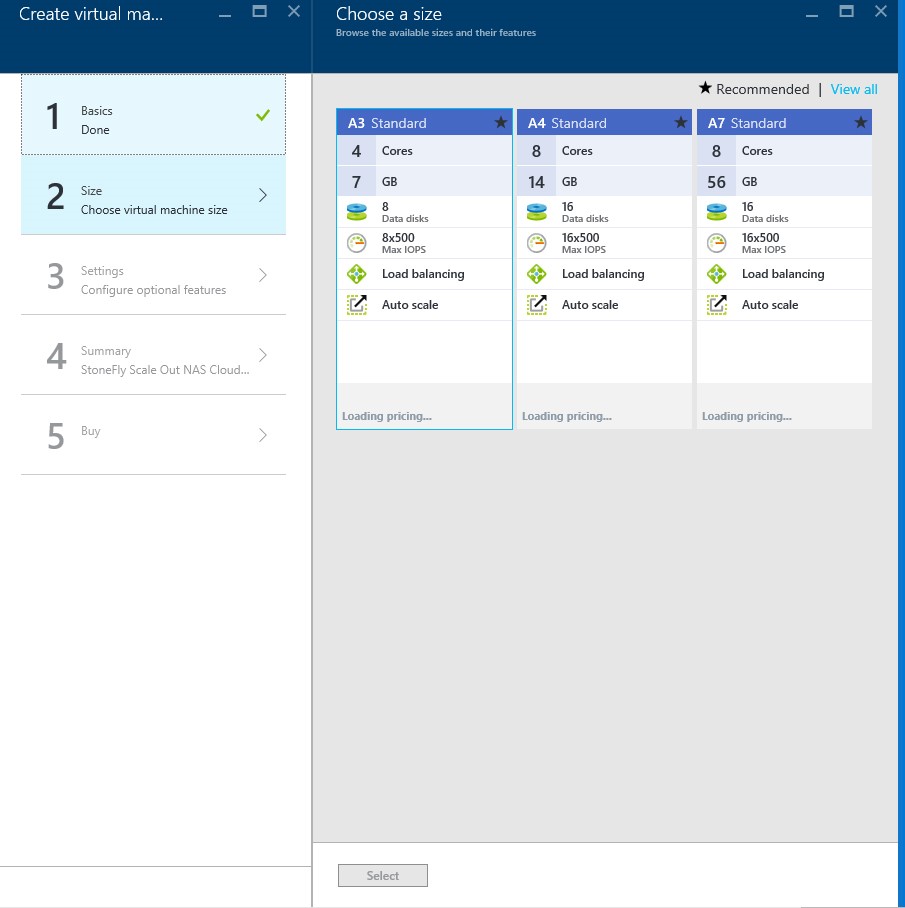
After the form is filled, you will have to select the VM size. The available sizes, as you can see in the above image, are greater than A3 (4 cores and 7GB). The number of disks will be dictated by your size requirements. Each data disk currently supports 1TB of data, according to a latest announcement, Azure is upgrading this limit to 4TB (this feature isn’t publicly available at this time). Going by this information, A3 can store up to 8TB of data. These machines can be updated as per the user’s requirements.
Once you’ve decided on the VM, click the “Select” button at the bottom and you’ll move on to step 3.
Step 3: Configure your VM
After the selection of the VM size, you will have to configure it. Configuration of the VM requires knowledge of just a few things, as visible in the image below:
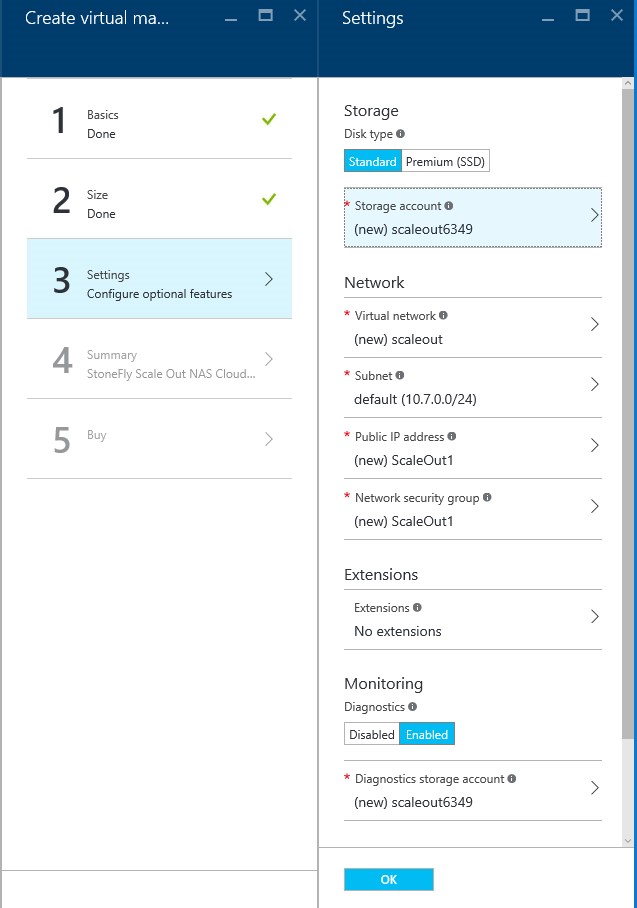
This window will appear, displaying the information you’ve provided and selected. You can choose to change anything if something is not to your liking. Once satisfied, click the “Ok” button and move on to the fourth step.
Step 4: Review
The fourth step will display the summary of the settings you’ve set. Take your time with the summary and make sure that everything as you wish it to be. This is the step where you can move back and make changes if something is not to your liking.
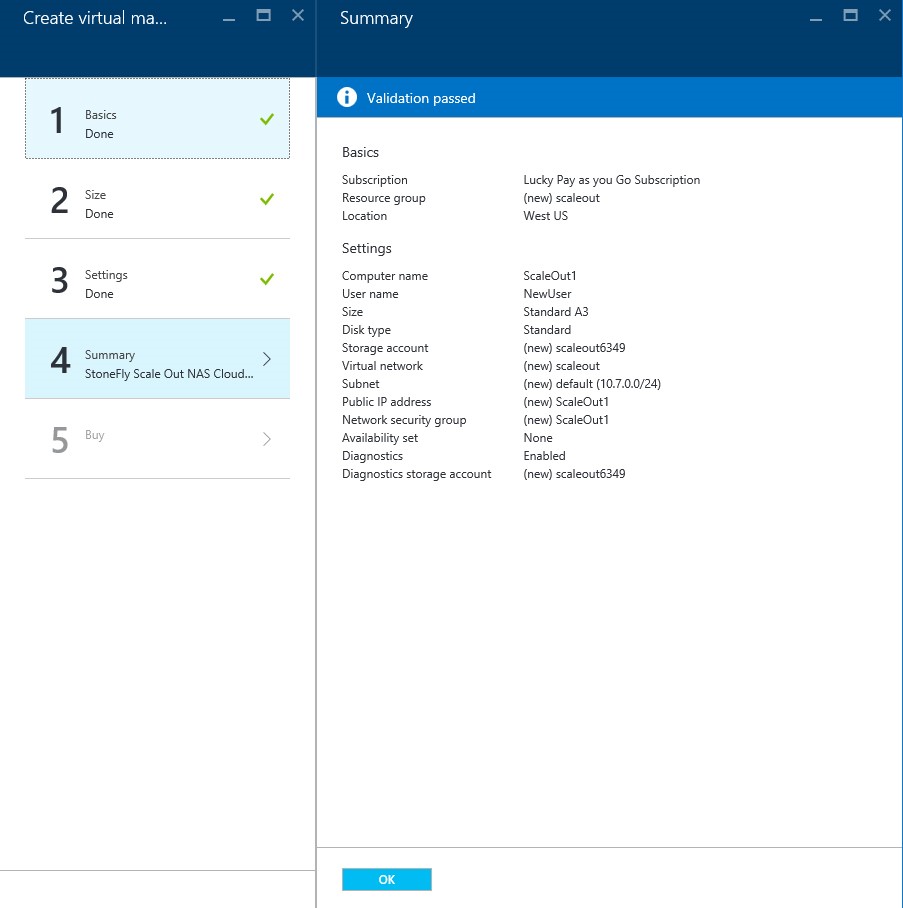
If everything is exactly as you want it to be, click the “Ok” button and you’ll proceed to the fifth and final step.
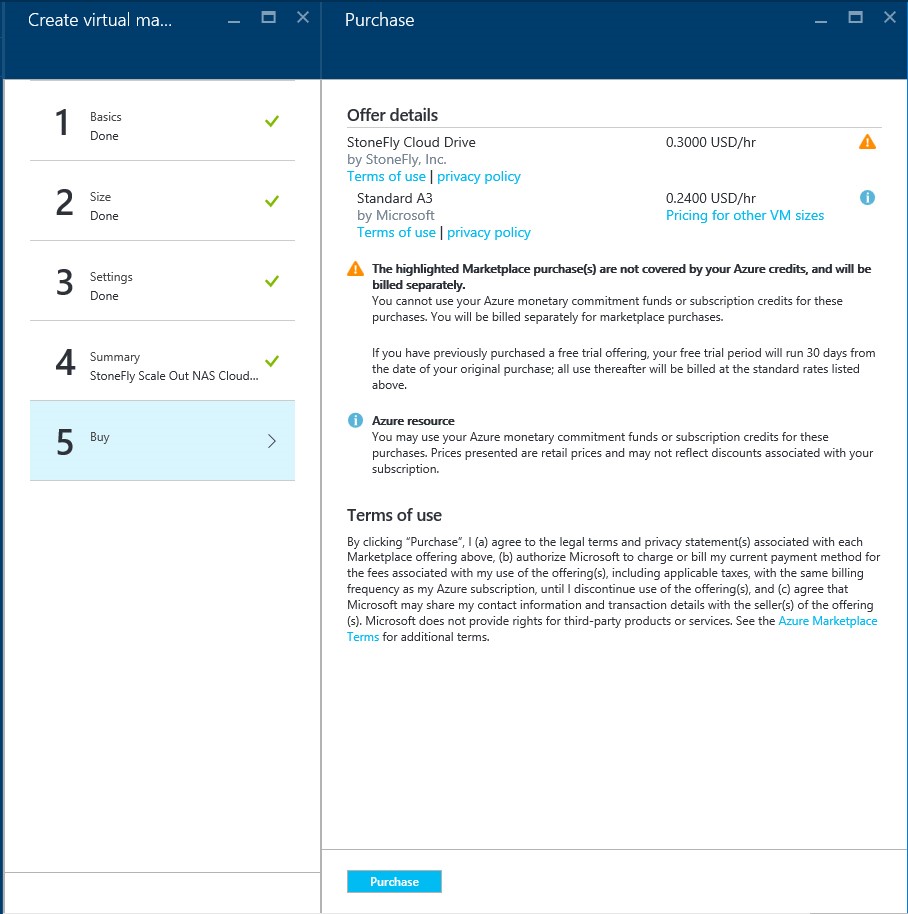
Step 5: Purchase
The final step requires you to purchase the virtual machine before it goes into operation. The prices for StoneFly will be visible in this page along with the terms of use. Please make sure to read the terms of use before making the purchase.
The process of creating, configuring and purchasing your VM is a simplified step by step process. One step leads to the other and there’s also a summary displayed just to enable you to make sure you have what you want before you can spend to purchase it. If there’s any confusion about the process or any queries, feel free to contact our professionals.
The next article will guide you through the process of renaming the DNS name label of your VM, scaling out your VM and using your DNS name label on any web browser to manage your storage and VMs via a single interface. Make sure to keep checking StoneFly’s blog. .
")
")